
So you want to try out different knots when you need to wear a tie to whatever occasion you are invited to. This is quite an unorthodox knot but it will most certainly catch the envious eye of those wherever you go.
If you intend to truly stand out among the crowd and be in the spotlight this knot will do it for you. We will show you all the steps involved to get your tie in the Eldredge which will take a certain amount of practice.
Anyone can do it if they know the right process. So let’s start tying the knot that will put you in the center of the crowd.
How Does the Eldredge Knot Look and Where Should You Wear It?
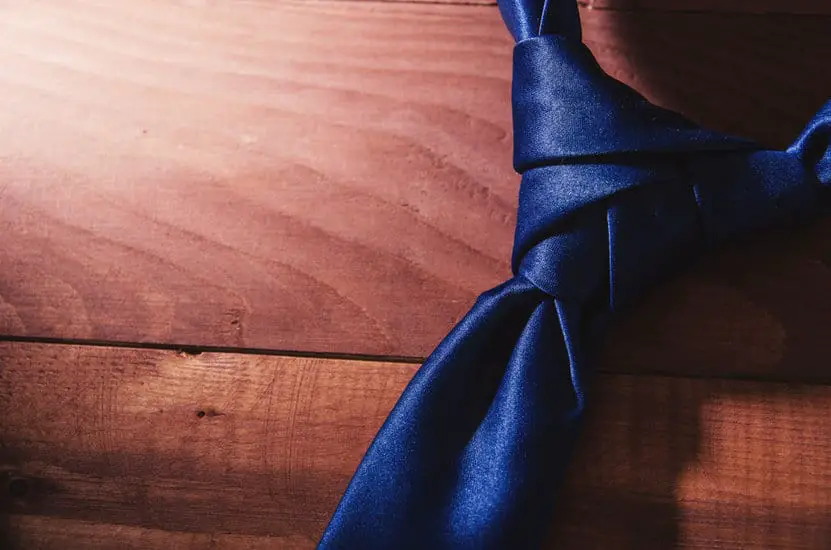
The Eldredge knot is complex and has an unusual shape. It consists of one horizontal band and features 4 diagonal bands that lay on top of each other.
In terms of size, the Eldredge knot imposes a widespread collar. Before tying it, secure your shirt’s top button and raise the collar.
The Eldredge knot doesn’t have a symmetrical shape. If you want to tie it, put the right-side diagonals on top of the left-side diagonals.
Expect to make an apparition with the Eldredge knot. You will surely impress everyone if you have it on. It’s your merit that you have managed to tie it, so be proud of your achievement.
You can wear the Eldredge knot at a party that’s both classy and casual. For example, you could tie it if you’re going on an evening date or at a cocktail party.
How to Wear the Eldredge Knot?

Since the Eldredge knot is difficult to tie, you need a lot of practice before you can make it. It’s very important to mute your other clothes when wearing the Eldredge knot, so put on a simple suit.
This knot is fashionable and eye-catching, so it goes perfectly with ties that feature solid colors or subtle patterns.
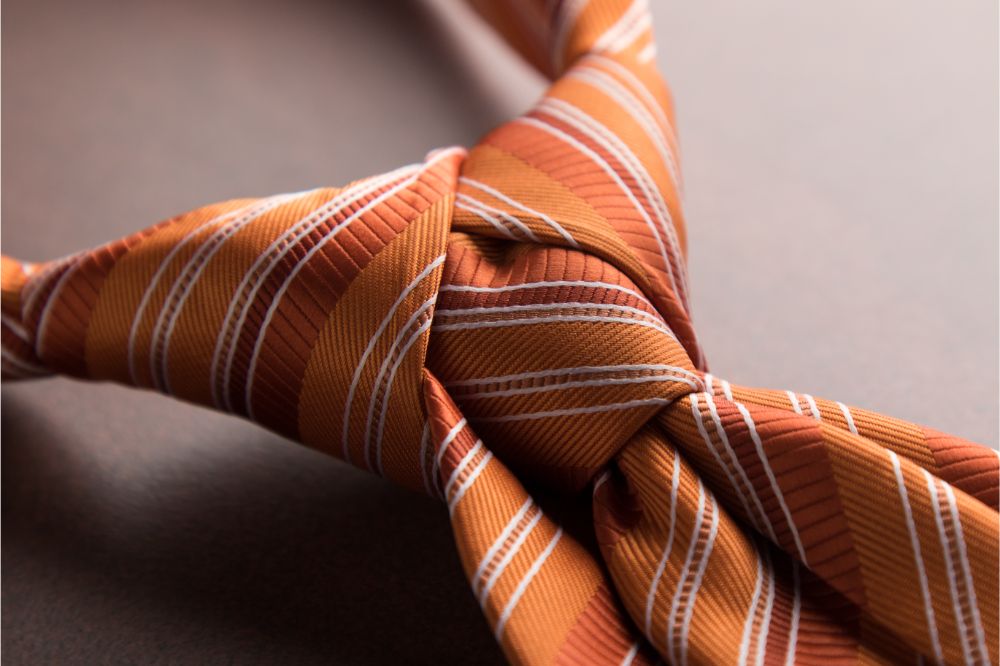
Don’t use a tie with stripes for the Eldredge knot because you will get a too-busy look that’s out of balance. Keep in mind, this knot is very extravagant, and you can obtain the most dramatic stylish effects with it.
Put on a simple suit. If the tie has a bright color, wear it with a white shirt. Your tie’s color should match your suit. The Eldredge knot will stand out and complete a rather dull look.
What Is The Eldredge Knot All About?
This knot was invented as recently as 2007 by a gentleman named Jeffrey Eldredge, and it can be done with any average tie. The great thing about this knot is that it can be worn on many different occasions, such as work, casual, or any celebration.
Be warned that this knot will consume a lot of material because of the many moves that are applied to the tie. There are up to 15 steps involved with the Eldredge knot; to save time, let’s jump in and start tying the knot.
When you use this knot tie it is recommended that you wear a vest with it because it will consume most of the fabric. The Eldredge knot resembles a braided look, and be prepared because the women will love it when you wear this knot in your tie.
What is this knot all about? This is about being different and unique while you may just become the life of the party, unexpectedly.
How To Tie an Eldredge Necktie Knot: Steps by Step
By following the steps in this list, you will be able to get the Eldredge knot in your tie the first time right without hassle. If you do struggle, please, take a look at the YouTube video to make sure you also enjoy the benefit and fun of this popular knot.
Step 1
Put the tie around the collar of your shirt, with the small end to the left and the wide end to your right-hand side. Leave the wide end resting at about the top of your belt buckle, just a little bit past your belly button.
Step 2
Start now by moving the small or active end to the right over the wide end and moving the wide end to the left under the small end.
Step 3
Now you must fold the small end over and under the wide end from the right to the left side of the tie.
Step 4
Fold the small end up to the center in the direction of the neck loop. You need to pull it upwards to your neck.
Step 5
Pull the small end through the neck loop, fold it over the tie to the back, and pull it out at the bottom to your left-hand side.
Step 6
Make sure the knot is tight all the way while you are tying the knot to preserve some of the fabric of the tie. After you pull it to the left, you need to bring it back up underneath the front of the tie.
Now put it through the loop at the top again, folding it at the back and down again to the left-hand side.
Step 7
Fold the active end about at the bottom of the knot over the knot to the right-hand side of the tie. While holding the knot tight, take the little end to the top at the back and bring it forward through the loop.
Step 8
Take the small end now behind the front of the tie under it to the right and keep it a bit loose this time. When it is on the right-hand side, weave it through the loose loop you just created up and to the left.
Step 9
When you pull it through the loop to the left, you have to pull it tight, so it will make a solid knot in the tie. Make sure everything is neat and tidy when you pull it through the loop and pull it tight while tugging on the small end.
Step 10
Tug the small end up and through the loop behind the knot a little bit to the left and down to come out at the back. Now the little end will lie on the left-hand side of the knot and the rest of the tie.
Step 11
Now take the small end again up to the loop and at the back of the knot on the left-hand side. Keep the loop a bit loose again, so you will be able to do the next step without any difficulty.
Step 12
Take the small end again across the front of the knot through the loop you created and pull it tight on the small piece. There will be only a little bit of fabric left, but you will be able to pull through the loop and tighten it.
Step 13
Pull everything tight into a neat knot, so it will all look nice and close together for a neat-looking knot. You will see it is already looking like a short braid when everything comes close and tight together for the best effect.
Step 14
You only need to tug the small end behind the rest of the tie that is secured around the neck, so it can’t be seen.
Step 15
By holding the knot with one hand, you can now pull down the back end to close the loop firmly around your neck. There you have the Eldredge knot around your neck without any difficulty if you follow all the steps closely.
Summary
Now that you know how to tie the Eldredge knot around your neck, do not wait. Go ahead and wear it to all occasions. This will only increase the fun and will take the dull out of those boring office meetings while you look stylish.

Samoel Ovanessian is the founder and creator of StylishAlpha.com – a website dedicated to men’s fashion. As a proud owner of more than 200 ties, he loves digging through new clothing combinations for everyday use, formal events and even just for fun. You can read more about Samoel here.